Crafts
Magnetic Chalkboard- DIY
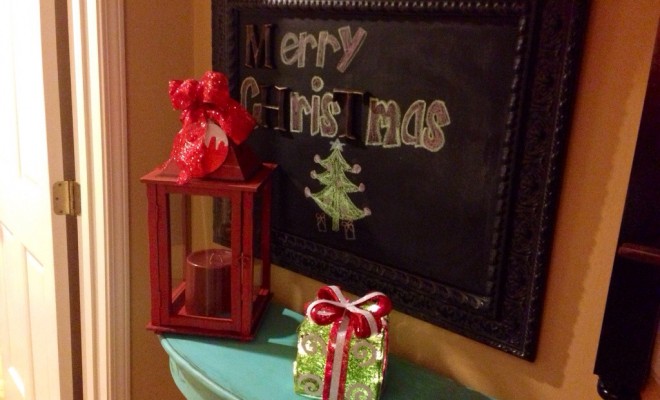
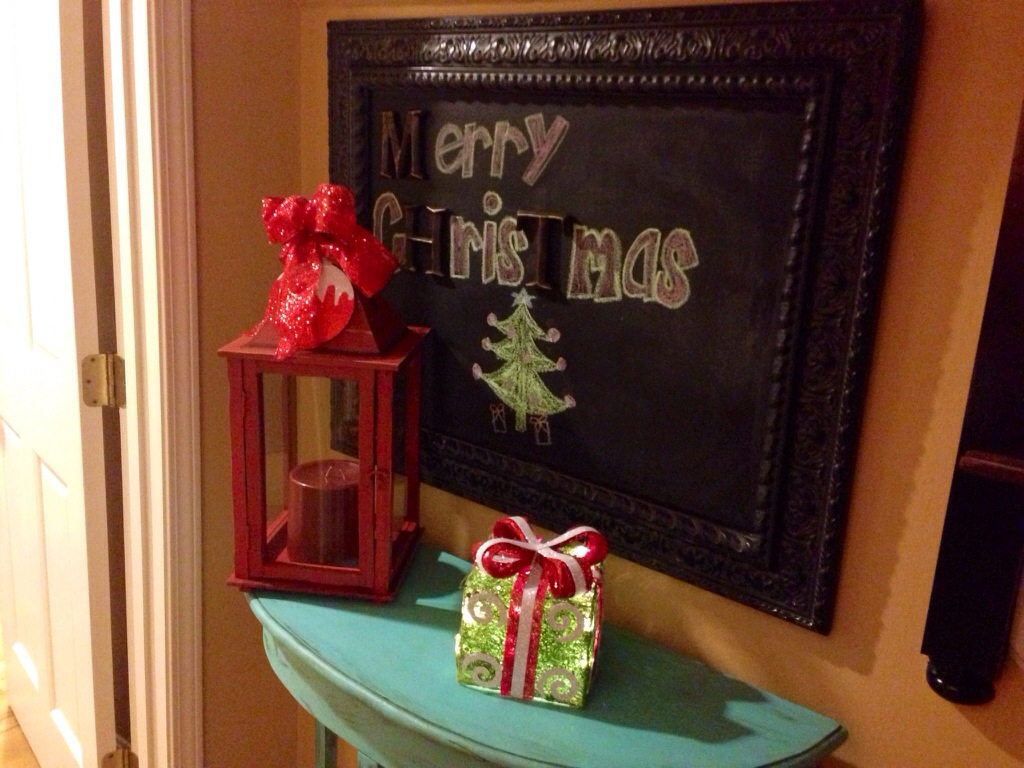
I’m pretty excited to share my latest craft project, completed just in time for the holidays! I recently pinned a super cute idea for my foyer. It’s a magnetic chalkboard, where you take gold letters place magnets on the back and mix the cute gold letters you bought with your chalk handwriting for various welcome messages. How brilliant?!
I bought the letters H, M and T to begin with the thought I’d use these three letters in many festive holiday notes from Merry Christmas to Happy Valentine’s Day. If you decide to do this, be sure to use SEVERAL coats of magnetic paint and once dry test it’s magnetic strength before moving on to the chalkboard paint layer. AND, once your chalkboard paint dries for 24 hours, take a piece of chalk and cover the entire board with chalk to “christen it” so to speak. This will prevent your first message from being permanent.
One last thought, I did this and still have residue from using a chalk PEN. So, even though they write so well, I’d say regular old chalk is your safest bet.
Supplies needed:
Frame (mine came with a cork board inside it originally that I took out and painted with the two types of paint)
Cork board or other hard surface (what you will paint and subsequently write on)
Magnetic primer paint (Rustoleum from Lowe’s here, don’t get the spray paint get the can. STIR THIS EVERY FEW MINUTES- CRITICAL)
Chalkboard Paint (Rustoleum- get the kind you paint on with a roller, not the spray paint)
Foam rollers (they prevent the magnetic particles from disappearing like they would in a brush)
Chalk
Wet cloth (to wipe down board are you’ve seasoned it with the chalk)
Your own creativity! 🙂
Best of luck! It’s a fun project.


0 comments