
Crafts
Snazzy No Sew Doggie Crate Cover
My 10 year old pug, Pudgee, is one of those rare dogs who has always LOVED her crates. I always call it her “home” because she loves to hang out in there and always has. Guess I got lucky with that or maybe I sweet talked her just right when she was a pup!
She has two crates and two dog beds in our house and the crates kinda bug me. Why? Because I feel like they’re an eyesore. I like for everything to match and be in its place and dog crates don’t really complement my decor! Haha. But I love her and I want her to have her variety of homes.
So….I started looking online for “designer dog carrier” or “chic dog crate” the usual search terms from owners of spoiled rotten dogs. I stumbled upon these adorable crate covers and knew that’s exactly what she needs. Except they were anywhere from $50-$100. So as usual, I laughed and said I can make that. Come on!
From there I headed to Target in pursuit of a curtain to match our navy and white master bedroom. I found a really cute curtain for $12.99! Can’t beat that.
Supplies:
1 curtain, 84″ panel
Fabric scissors
Straight pins
Safety pins
Thermal heat bond stitching
An iron
Ribbon
Dog crate
Dog bed
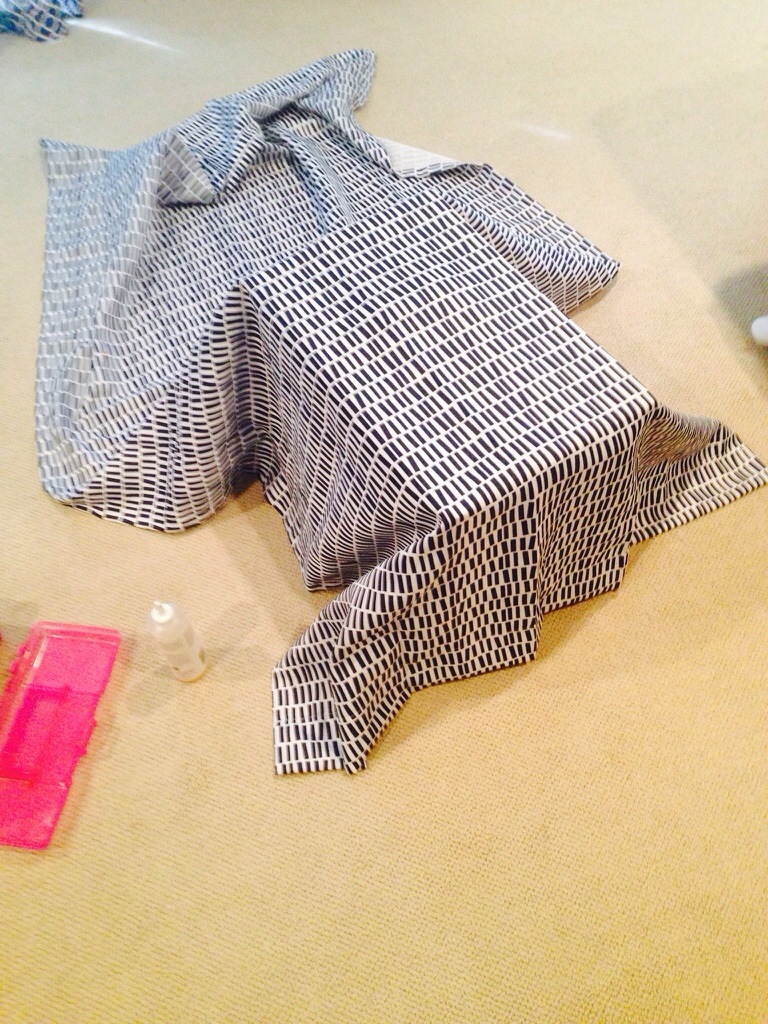
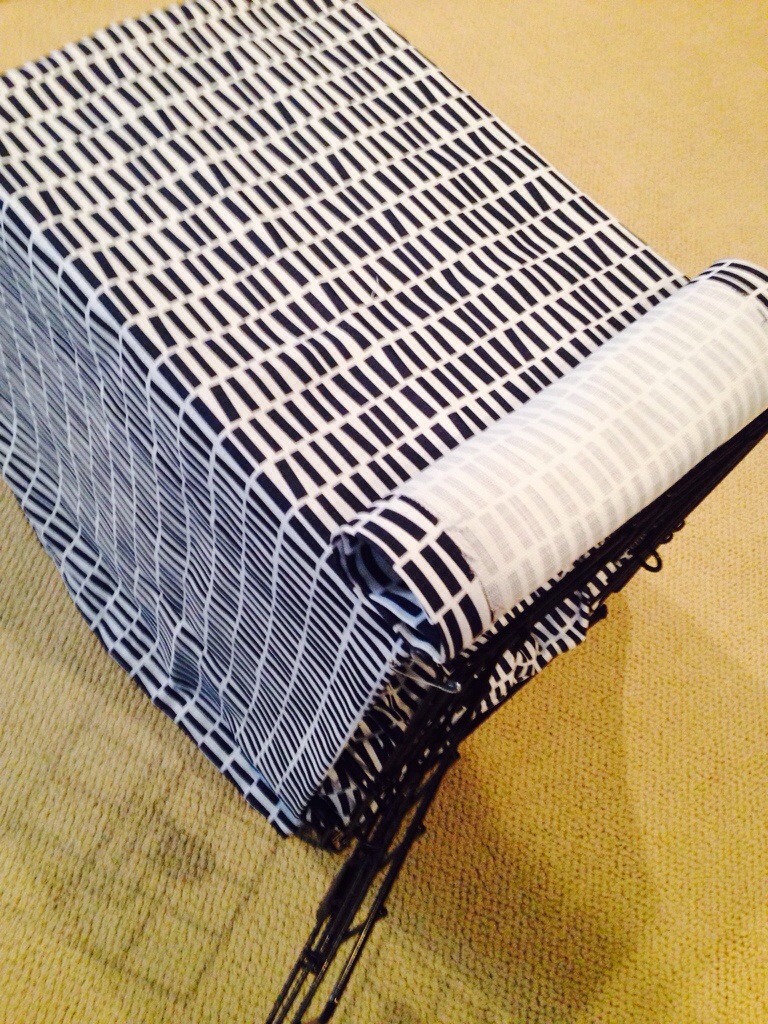
Step 1: Drape the curtain (or sheet if you have a larger crate) over the crate. Pin it with safety pins to hold it in place.
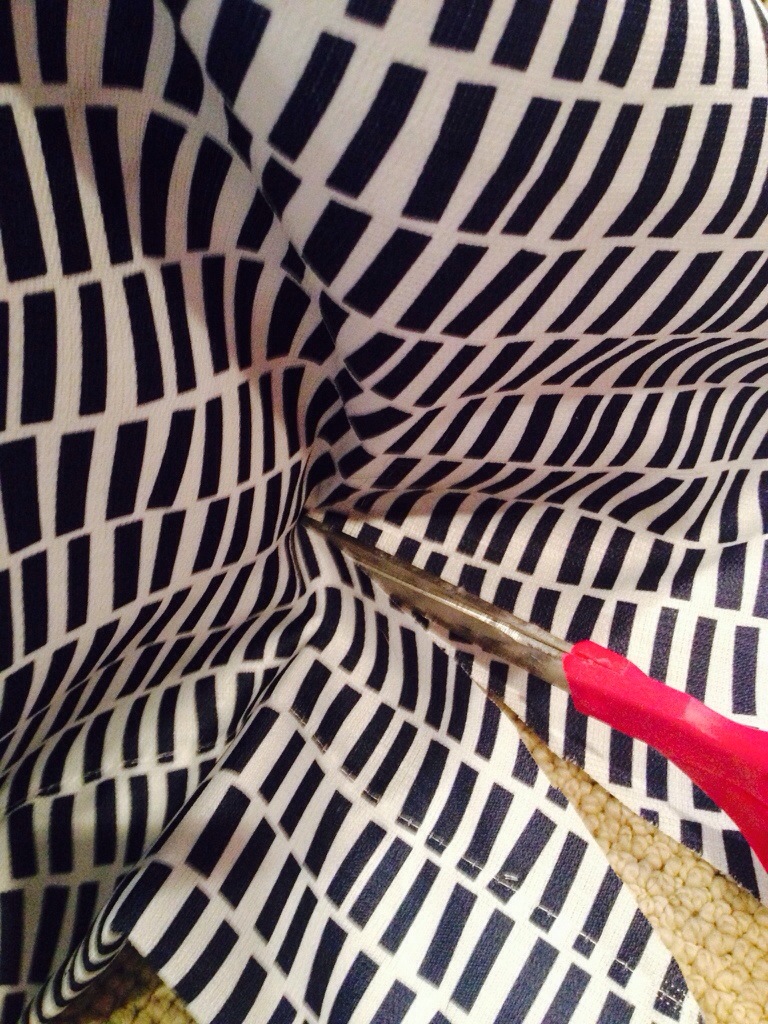
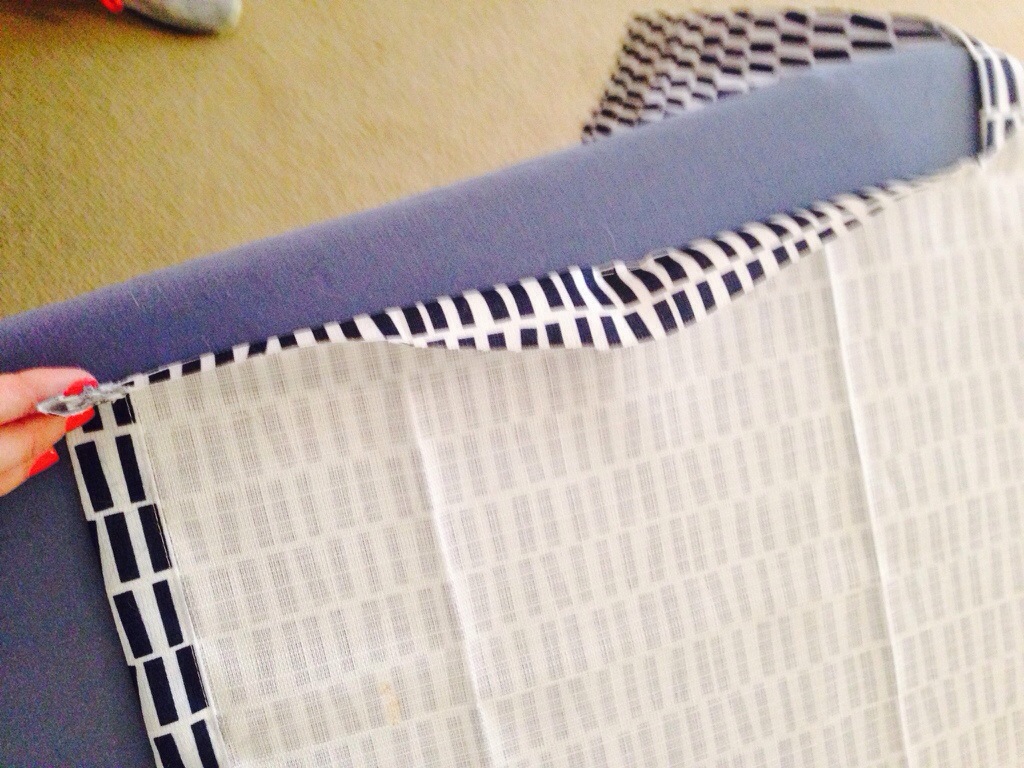
Step 2: Using your fabric scissors cut off excess material. Then cut an angled opening at each corner.
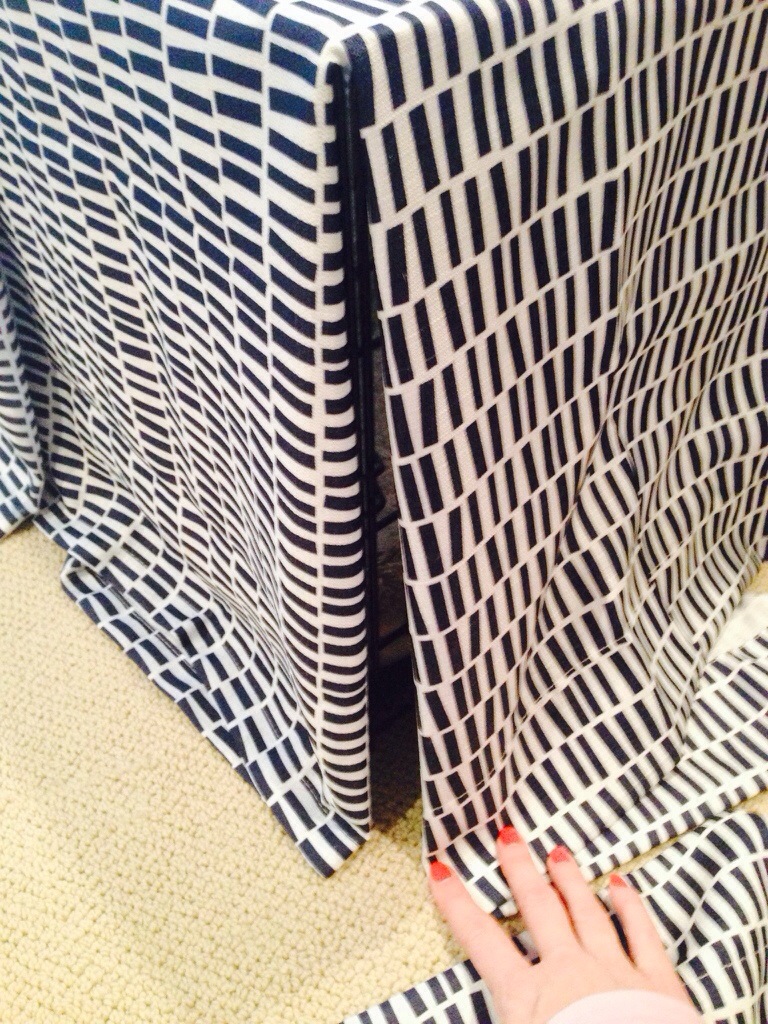
Step 3: Fold your frayed edges and use a straight pin to mark where the hem should go.
Step 4: Remove the safety pins holding it in place. I placed one in each corner so there was no sliding as I cut.
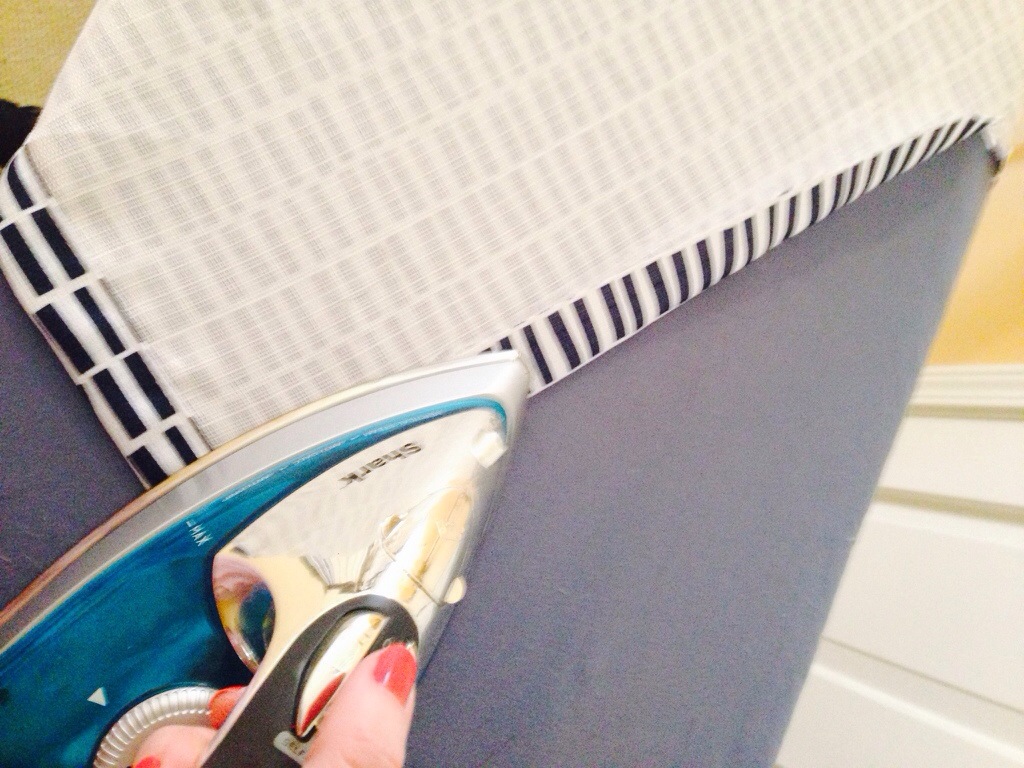
Step 5: Iron your edges/hem of each corner. Then using HeatnBond place a strip of tape to each corner. Follow the instructions on the packet for no-sew seams.

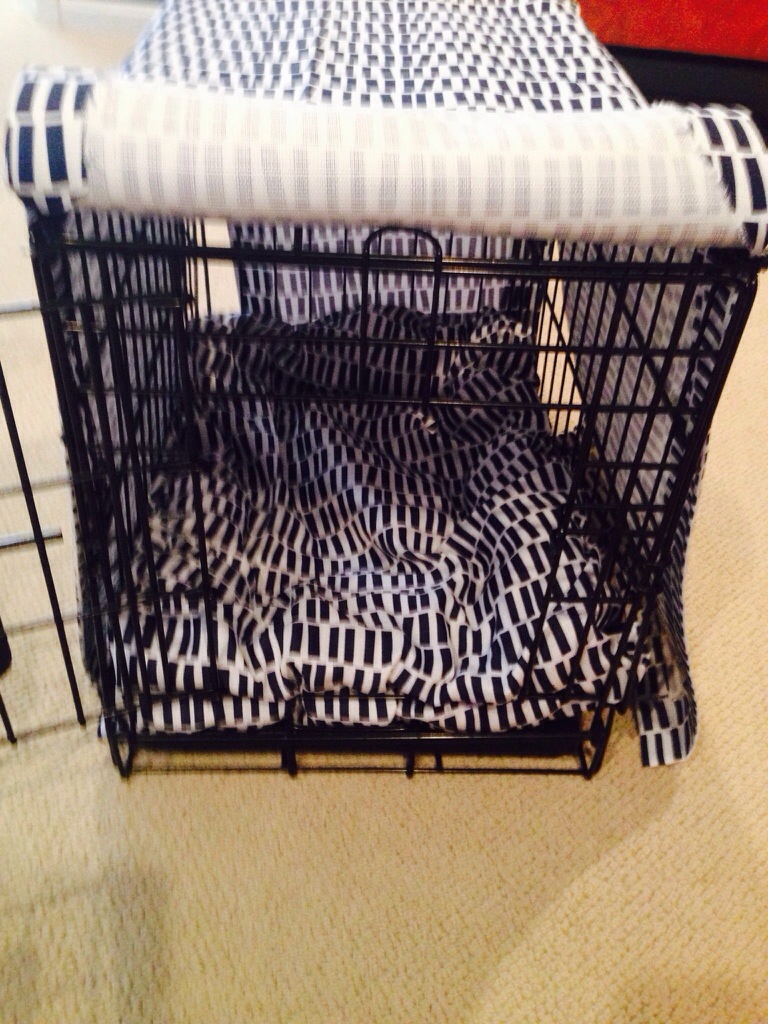
Step 6: I have not completed this step yet as I’m debating on what ribbon I want to use, but I’m thinking burlap to match my nightstand table cloth. At this point you will cut tiny holes on each corner to tie the edges of the crate cover together. You will also make a tiny hole at the top of your front door to the crate so you can fold the dogs front door flap up and hold in place with cute bows. If the dog likes a “black out” style window you can let their front curtain down when they’re sleeping. I’ve found my dog doesn’t like this because she can’t see what’s going on. Haha.
I plan to place the bows on edges to cover the inside seam.
I used the leftover curtain materials to cover her bed and make it more fru-fru for her.
Here she is enjoying her renovated crate!
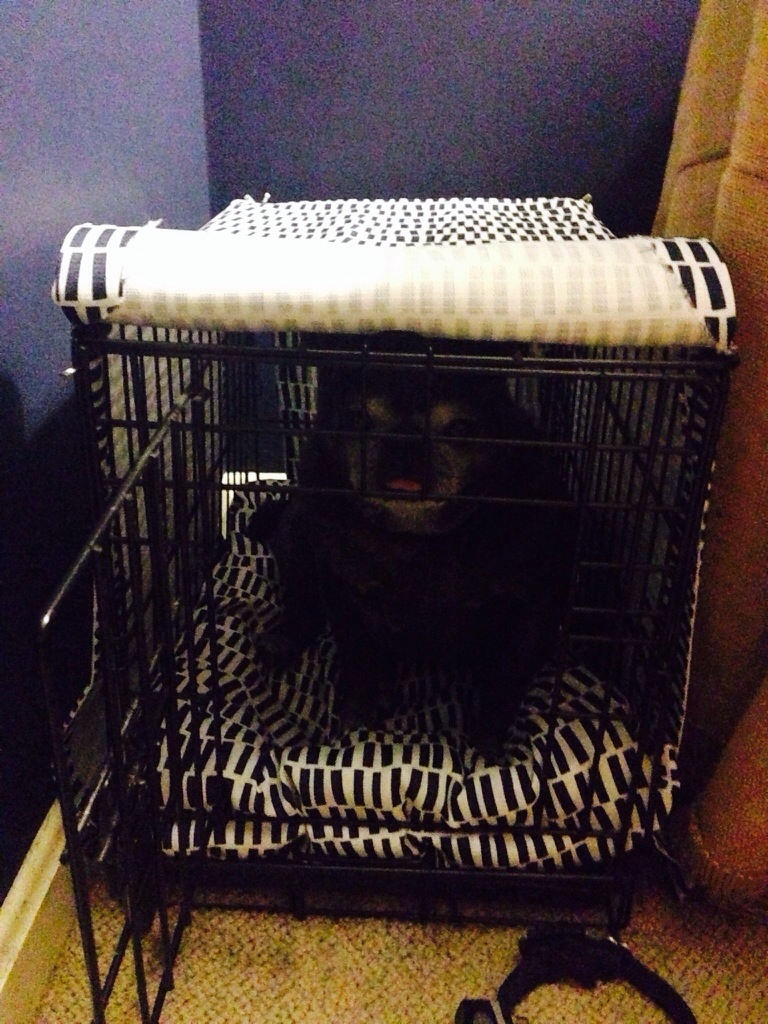
I’ll be sure to share a photo when I add the bows and also when I do a second cover for our formal living room….that’s the dogs’ fav spot. 😉
Xoxo,
Erika


5 Comments